


Installing a lace front wig can provide you with a natural and stylish look in no time. Whether you are new to wearing lace wigs or a seasoned pro, our step-by-step guide will help you achieve a flawless and comfortable fit. Before we explore the process, it's essential to remember that practice makes perfect, so don't be discouraged if it takes a few tries to master the technique. Let's get started!
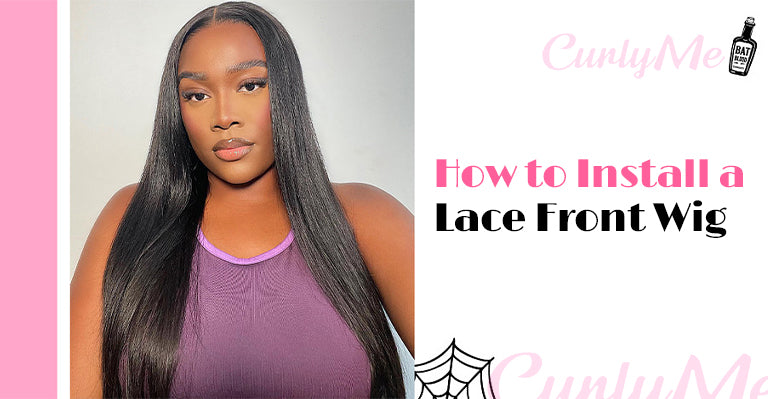
How to Install a Lace Front Wig
Before You Start: Customization for a Seamless Blend
Before donning your lace front wig, consider customizing it for a more natural appearance. This involves two key processes: plucking the hairline and bleaching wig knots.
Plucking the Hairline: Plucking the wig's hairline helps reduce density, mimicking the appearance of a natural hairline. Carefully remove excess hair strands to achieve a more realistic look.
Bleach Knots: Bleaching the knots of the wig lightens the roots of the hair strands where they are tied to the lace, making them less noticeable and blending seamlessly with your scalp.
While these customizations can enhance the wig's appearance, they require skill and time. If you prefer a more straightforward approach, consider purchasing a pre-bleached knots wig or pre-plucked lace wig, reducing the need for customization.
A Detailed Step-by-step Guide
Start by washing and cleaning your natural hair. Ensure your hair is clean, dry, and securely braided or pinned flat against your head. For longer hair, tie it into a low ponytail, twist it into a flat bun, and secure it with bobby pins.
2. Wear a Wig Cap
Choose a wig cap that matches your skin tone. You can also apply concealer on the wig cap to help it blend with your skin, creating a more natural hairline. By applying concealer along the part or any areas of the lace that are visible, it creates the illusion of a scalp, making it less obvious that you're wearing a wig. Secure all your hair under the wig cap to protect your edges from potential glue damage.
3. Clean Your Forehead
Use a mild wet wipe to cleanse your skin, followed by a cotton pad with rubbing alcohol along your hairline. This step removes excess oils. If you have sensitive skin, you can apply a scalp protectant serum after using alcohol or skip this step.
4. Cut the wig cap
Use cuticle scissors to cut a line in the middle of the wig cap. Gently lift the cap to where the gel stops and cut along that line for a precise cut. Lift up sections of the wig cap and cut along the edge of the gel to remove any excess cap.
5. Test the Fit
Before applying any adhesive, ensure the wig fits correctly by aligning it with your natural hairline. Adjust the wig straps if needed. If you need extra assistance to remember the lace's placement, you can use an eyeliner pencil to mark points to mimic your hairline.
6. Cut the Extra Lace
After placing the wig on your head and adjusting it to the desired position, ensure the lace lays flat against your forehead. Then, cut the extra lace around the hairline. Lift a section of the excess lace at the hairline gently. Be careful not to cut too close to the hairline, leaving a small margin of lace to avoid accidentally cutting into the hair. Start cutting in a zig-zag line along the edge of the lace, following the natural hairline. Once you have trimmed all the excess lace, make sure the lace lies flat and looks natural against your skin.
7. Apply the Glue
Gently place the wig onto your head. Align the hairline and adjust the back for a natural drape.
Then, apply adhesive in small amounts multiple times. Spread it along the edge of the wig cap at the hairline, making sure to avoid getting glue on the hair itself. Usually, we recommend that 2 layers are enough. However, if you sweat a lot or do intense training, consider adding layers for added safety. Let the glue dry in a cool area, and ensure it's not too thick or excessively adhesive. A thinner and even layer of glue results in a more natural look. Finally, gently pull the lace forward over the glue top, positioning it where desired, and then press the lace down into the glue.
If you intend to wear your wig while swimming, you should opt for a waterproof adhesive. Alternatively, if you only plan to wear the wig for a short duration, you can use double-sided tape for attachment.
8. Press and Secure
Carefully press the lace onto the adhesive using a comb or your fingers. You can use a blow dryer on cold heat to help the lace adhere to the adhesive.
9. Define Baby Hairs
Use an eyebrow razor or shears to create baby hairs along the hairline. Apply a small amount of foundation to the lace to match your skin tone.
Use a baby hair brush and a spritz or holding spray to shape and mold your baby hairs.
- If the frontal has some volume, use setting foam to flatten and sculpt the edges. This will give it a more natural appearance.
- If you're using a hot comb to style your wig, be careful not to leave it in one spot for too long, as it can burn the lace. Keep the comb moving to avoid any damage.
- Use a product like an edge control stick or gel to keep any flyaways or frizz under control. Apply it gently to avoid making the hair look stiff or crunchy.
- Wearing a wig for a continuous period should not exceed six weeks. Although experts generally recommend taking a break after six weeks, it's essential not to hesitate and remove it sooner if possible. In fact, the maximum duration you can wear a lace front wig depends in part on the type of adhesive you use. If you intend to wear a wig for several weeks, avoid using short-term adhesives. However, once the six-week period is up, it's advisable to remove the wig and provide the necessary care for your hair, which includes thorough cleaning, deep conditioning, and moisturizing.
How Long Does it Take to Install a Lace Front Wig
If you are experienced and have already customized the wig to your liking, it can take around 15-30 minutes to put on a lace front wig. This includes securing the wig using glue, tape, or other adhesive methods, adjusting the positioning, and styling the wig to your desired look.However, if you are a beginner or prefer a quicker process, there are alternative methods that take less time. Choosing a wig that requires minimal customization, such as pre-plucked hairline or pre-bleached knots, can save time as well. Or you can select a glueless lace front wig.
Conclusion
Applying a lace front wig can be a fun and transformative experience. With the right materials and careful attention to detail, you can achieve a flawless, natural look. Remember to follow these steps for a secure and comfortable fit, and you'll be turning heads with your new hairstyle in no time. Enjoy your beautiful and versatile lace front wig!
Read More
How to Wash a Lace Front Wig
A Detailed Guide: Closure Wig Vs Frontal Wig
13x4 vs 13x6 wig: What is the Difference and How to Choose


